CONTACT US
SELL YOUR VIDEO GAMES
THE BLOG
CF Search
Shop Nintendo
Nintendo NES
Super Nintendo
Nintendo 64
GameCube
Nintendo Wii
Shop PlayStation
PlayStation 1
PlayStation 2
PlayStation 3
Shop Sega
Master System
Sega Genesis
Sega 32x
Sega CD
Sega Saturn
DreamCast
Shop Xbox
Original Xbox
Xbox 360
Shop For Everything Else
Atari
Turbografx 16
Panasonic 3DO
Video Game Manuals
Shop For Gaming Consoles
Shop For Handheld
Check-Out
Sell Us Your Games
Check Out Our Blog
PS3 Consoles for Sale
PS3 games for Sale
Sort by
Sorted Product Name +/-
Start
Prev
1
2
3
4
5
6
7
Next
End
Page 1 of 7
Results 1 - 15 of 92
15
30
60
150
Shop PlayStation 3
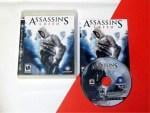
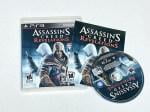
Assassin's Creed - Complete PlayStation 3 PS3 Game
$7.15
$7.15
Product details
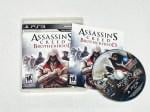
Assassin's Creed Brotherhood - Complete PlayStation 3 PS3 Game
$6.15
$6.15
Product details
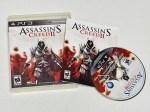
Assassin's Creed II - Complete PlayStation 3 PS3 Game
$6.99
$6.99
Product details
Assassin's Creed III - Complete PlayStation 3 PS3 Game
$6.15
$6.15
Product details
Assassin's Creed Revelations - Complete PlayStation 3 PS3 Game
$6.15
$6.15
Product details
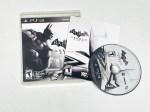
Batman Arkham Asylum - Complete PlayStation 3 PS3 Game
$8.75
$8.75
Product details
Batman Arkham City - Complete PlayStation 3 PS3 Game
$6.99
$6.99
Product details
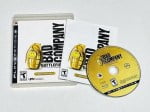
Battlefield Bad Company - Complete PlayStation 3 PS3 Game
$6.99
$6.99
Product details
BioShock - Complete PlayStation 3 PS3 Game
$8.99
$8.99
Product details
BioShock (Greatest Hits) - Complete PlayStation 3 PS3 Game
$8.99
$8.99
Product details
BioShock Infinite - Complete PlayStation 3 PS3 Game
$8.49
$8.49
Product details
1
Bodycount - Complete PlayStation 3 PS3 Game
$8.15
$8.15
Notify Me
Product details
1
Borderlands - Complete PlayStation 3 PS3 Game
$6.99
$6.99
Notify Me
Product details
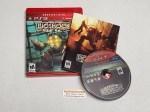
Brutal Legend - Complete PlayStation 3 PS3 Game
$9.95
$9.95
Product details
Bulletstorm - Complete PlayStation 3 PS3 Game
$9.25
$9.25
Product details
Start
Prev
1
2
3
4
5
6
7
Next
End
Page 1 of 7
© 2007 - 2024 All rights reserved. The Old School Game Vault